Please note: These pages have been replaced by our new Help and Support Center.
Squarespace Basics
-
Signup for a Squarespace account
If you haven't done so already, you will need to signup for a Squarespace trial account to get started (sorry, we don't let anyone pay right away :). Check out this FAQ article for a detailed how-to.
-
Logging into your site
You will need to know how to access your website and login to be able to use Squarespace.
First off, your new website is assigned a URL (web address): http://username.squarespace.com - where "username" is the name you chose during sign up.
By default, there is a link in your websites sidebar titled Login. Click this to see the login prompt, enter your username and password (both setup during sign up), and you are in.
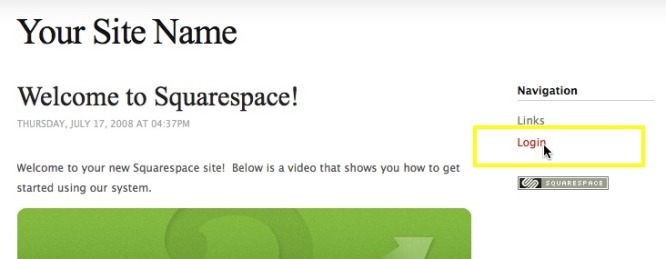
NOTE: Alternatively, you can go to your website, hit the "Esc" key on your computer, and the login prompt will show.
More details and troubleshooting for logging into your website can be found in our Common Login Issues post.
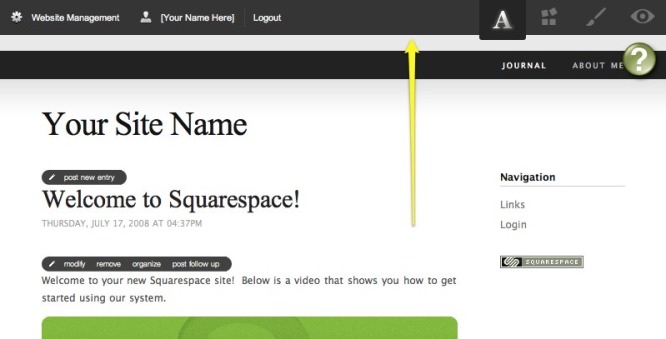
Once logged in, you should see the black Editor Bar at the top of your screen:
-
Editing Modes
When logged in to your website, you will see four prominent icons on the right side of the editor bar (the black bar on the top of your screen). These icons represent the primary editing modes in Squarespace:

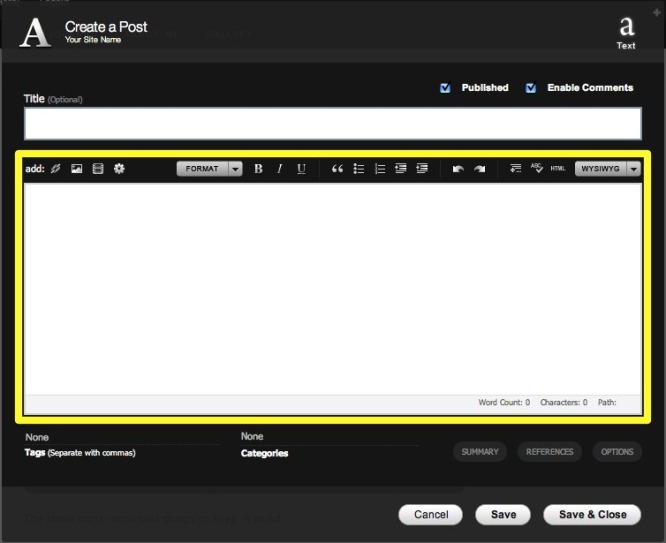
Content Editing
Use this mode for adding/editing content to your pages and sidebar widgets. Small edit buttons will appear onscreen where content is editable, click to edit (usually in a WYSIWYG editor window).
Structure Editing
Use this mode for changing the structural elements (modules) on your website. Modules are pages and sidebar elements that contain the pre-built Squarespace features. The Structure Editing mode allows you to configure your website modules and rearranged them by dragging-and-dropping them where you want them. NOTE: the core structure of your site (the number and arrangement of sidebars, horizontal navigation, etc.) is configured via the Style Editing mode.
Style Editing
This mode gives you access to the primary tools to customize your sites look and feel. Upon entering this mode, you will notice a new black pane (the Appearance Editor) slide into the bottom of your screen. You can change your website template, configure your core website layout, customize the fonts, colors and sizes of text and elements, and access advanced features like Custom CSS. We will go into more detail in one of the next Getting Started posts.
Preview Website
This isn't an editing mode at all, in fact, it's the opposite. It is meant to give you a preview of what your site will look like to the public (without any edit buttons floating around on the page). -
Website Management
On the left side of the Editor Bar, at the top of your screen, you will find the Website Management access.
This link gives you access to what is commonly known as the "backend" of your website. It allows you to configure all of the elements of your website that are not controlled through the Editing Modes described above.
Here is a preview:
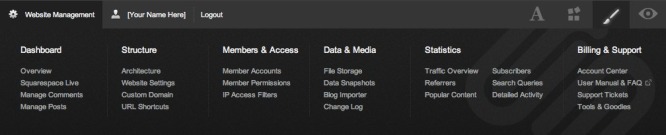
The Website Management area is packed full of features to manage your comments, organize your members, view your website visitor statistics, and a whole lot more. Feel free to poke around, every option is prefaced with clear explanations so you don't have to continually jump back and forth between your website and this manual.